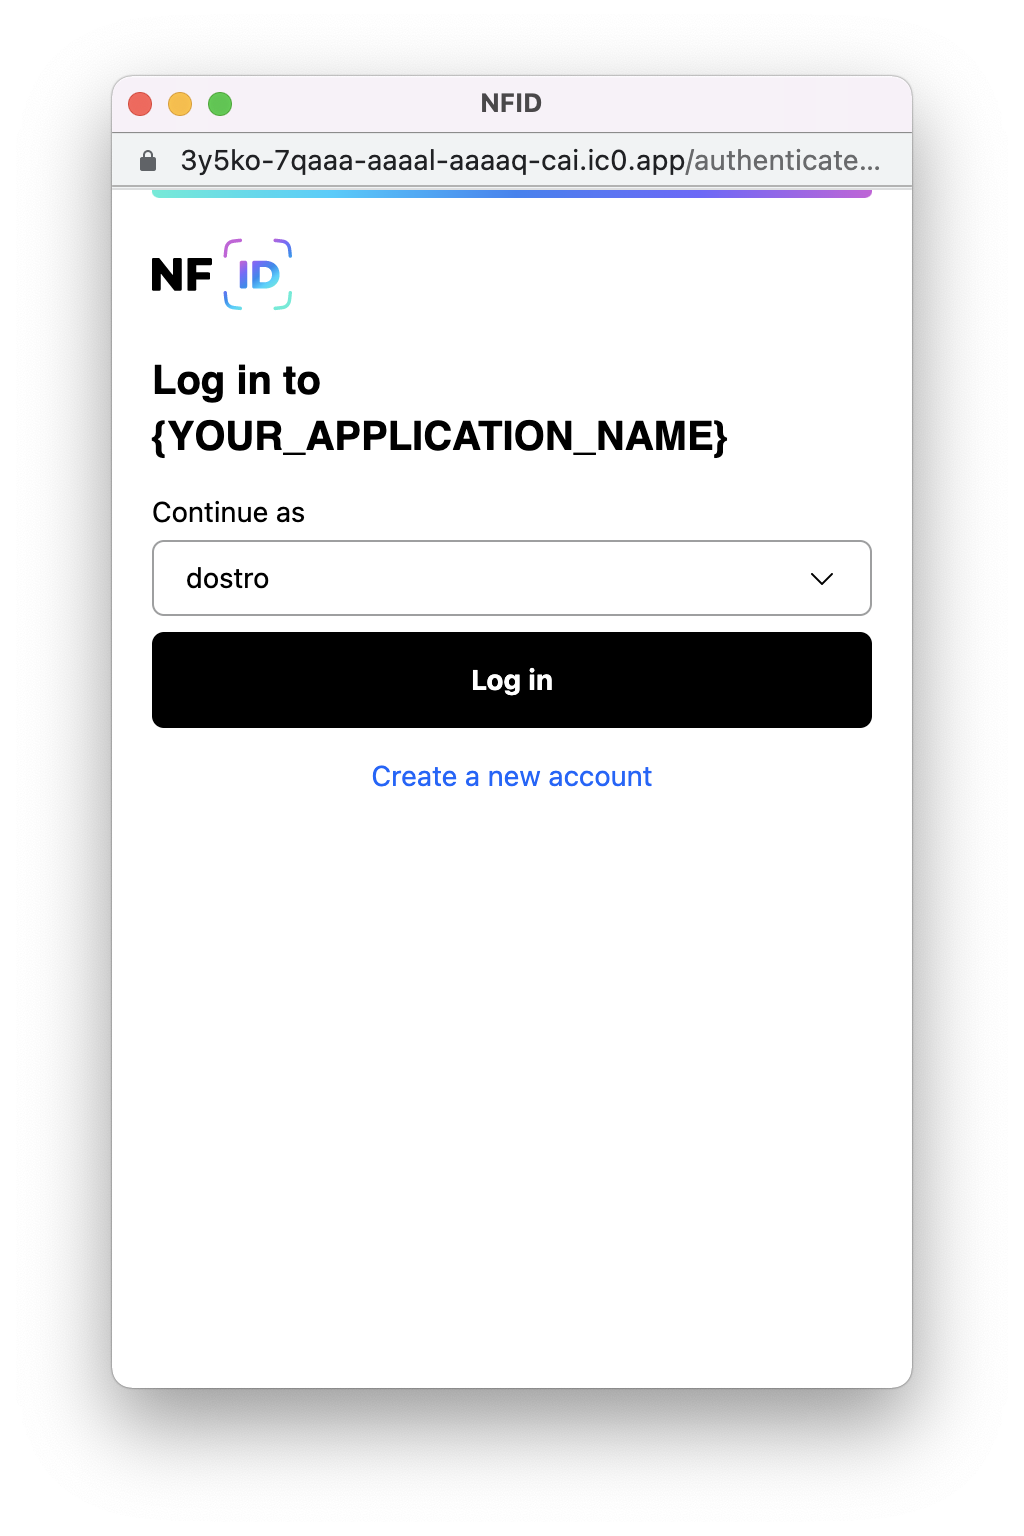
Internet Computer login
NFID is an app-less, strong portable authenticator offered by Internet Identity Labs. NFID uses FIDO-based biometrics for secure, convenient, and consistent passwordless authentication, and Dfinity's Internet Identity service for delegating identities to each new scope. This guide explains how to integrate NFID into your web application — including the changes required for your login page and backend canister. Learn more about NFID
This guide assumes an Internet Computer application exists to integrate NFID with. If this is your first application, we suggest you clone our NFID auth client demo fork of Kyle Peacock's original.
Replacing existing identity provider
If you already have authentication set up in your Internet Computer app and want to switch your identity provider to NFID, simply change the existing identityProvider URL in your authClient to:
https://3y5ko-7qaaa-aaaal-aaaaq-cai.ic0.app/authenticate/?applicationName={YOUR%20APPLICATION%20NAME}#authorize
where {YOUR%20APPLICATION%20NAME} is the name you'd like displayed in the NFID authentication window.

Migrating existing users
If you have existing users, their user profile type will need a has_many relationship to principals instead of a has_one.
We are working on a frontend plugin that packages a UX for your users to authenticate with both the original identity provider and NFID, as well as the rust & motoko examples for how a user_profile might migrate from a has_one to a has_many relationship with principals.
If you'd like to get started sooner, just know that this is the process and it is entirely separate from NFID.
Open auth in new window instead of new tab
We've added an option for authentication windows to open in a new window. Just pass a new variable, windowOpenerFeatures with html options (like these default options we recommend passing) into your authClient:
identityProvider: "https://3y5ko-7qaaa-aaaal-aaaaq-cai.ic0.app/authenticate/?applicationName={YOUR%20APPLICATION%20NAME}#authorize",
windowOpenerFeatures:
  `left=${window.screen.width / 2 - 200}, `+
  `top=${window.screen.height / 2 - 300},` +
  `toolbar=0,location=0,menubar=0,width=400,height=600`
Local NFID installation for authenticated local calls
If you need an actor to make authenticated calls locally in your project, you will need to clone our NFID-SDK repo adjacent to your project.
cd ../nfid-sdk
# make sure you are running DFX 0.9.3
DFX_VERSION=0.9.3 sh -ci "$(curl -fsSL https://sdk.dfinity.org/install.sh)"
yarn
rm -rf .dfx/local
dfx start --clean --background
cd examples/create-ic-app-react-demo
rm -rf .dfx/local
yarn deploy:local
yarn serve:nfid-frontend
Next, download and extract the ngrok binary to NFID-SDK/examples/create-ic-app-react-demo/scripts and from within that directory run
yarn tunnel
Copy the assigned domain from ngrok output
 as the TUNNEL_DOMAIN in your authClient:
const APPLICATION_NAME = "Your%20App%20Name";
const TUNNEL_DOMAIN = "https://750321244b61.ngrok.io";
const PRODUCTION_NFID_URL = "https://3y5ko-7qaaa-aaaal-aaaaq-cai.ic0.app/authenticate/?applicationName="+APPLICATION_NAME+"#authorize";

loginButton.onclick = async () => {
  await authClient.login({
    onSuccess: async () => {
      handleAuthenticated(authClient);
    },
    // Use our production URL if canister is running in production
    // Otherwise use the local replica
    identityProvider:
      process.env.DFX_NETWORK === "ic"
        ? PRODUCTION_NFID_URL
        : TUNNEL_DOMAIN+"/authenticate/?applicationName="+APPLICATION_NAME+"#authorize",
    // Maximum authorization expiration is 8 days
    maxTimeToLive: days * hours * nanoseconds,
  });
};
Sample NFID auth client demo
Here is a demo repo you can play around with in typescript. Here is a demo repo you can play around with in vanilla javascript.